Some strawberry growers are nearing the end of the harvest season. The heat this year really sped things up. Did you know that the work isn’t done after you harvest the last strawberry? After harvest comes an important step called “renovation.” Try it this year and see how much better your yield and plant health are next year!
Right after harvest ends, the patch should be renovated in order to restore the health of the plants and prepare them for the following season. This is a vital step that all strawberry farms do each year. However, not all home gardeners know about it.
The process of renovation involves mowing the plants to encourage them to re-grow new buds and leaves, pulling weeds, narrowing the rows, fertilizing and watering.
Note: Renovation only applies to mature, fruit-producing strawberry patches. Plants that were planted this year do not require this step.
Step 1: Remove large, mature weeds
Because Step 2 will involve mowing the whole patch (yes, really), any large weeds that are about to go to seed should be removed prior to mowing. This is to make sure they don’t spread their seeds.
A gardener with a very large patch may consider using herbicides. Before applying any herbicides to strawberries, read our article in the Fruit and Vegetable News about renovating commercial strawberry plantings.
Step 2: Mowing
After removing big weeds, the next step is mowing or cutting everything. This may seem counterintuitive the first time but do it anyway. Mowing is important for helping the strawberry plants grow new leaves and fruit buds for next year. Mow or cut all of the plants, to about 1 inch above the crowns (the clump of tissue at the base of the plants).
If the patch is small, you may use pruning shears, a string trimmer, or a handheld lopper to cut down the plants.
If the soil is an uneven height, then adjust the mower height up in order to avoid hitting the crowns.
Cautions about mowing
- If the plants are stressed from drought, mowing may damage them further because the stressed plants have reduced ability to produce new leaves. Address this by watering. If you garden in a drought-stressed area of the state and have not been watering regularly, either consider skipping the mowing or irrigate a couple of times prior to mowing to reduce stress on the plants.
- If renovation is delayed by more than two weeks after harvest, mowing is no longer advised.
Step 3: Apply fertilizer or compost
After mowing, broadcast a nitrogen-containing fertilizer, or a fertilizer containing nitrogen, phosphorus and potassium (N-P-K). This can be applied via granulated or pellet fertilizer, water-soluble fertilizer, or compost. It is helpful to apply part of the fertilizer now, and part of it 4 to 6 weeks later to make sure the plants have access to nitrogen throughout the rest of the season.
Deciding how much fertilizer to apply
Sandier soils do not retain nitrogen as well as heavier soils with more silt and clay. Gardeners with sandier soils should apply higher rates of fertilizer and apply it at two timings as described above. For home gardens, it is generally acceptable to follow the rates recommended on the fertilizer package label, adjusting slightly to accommodate the soil type.
Doing a soil test will help determine if your strawberry patch is deficient in any nutrients.
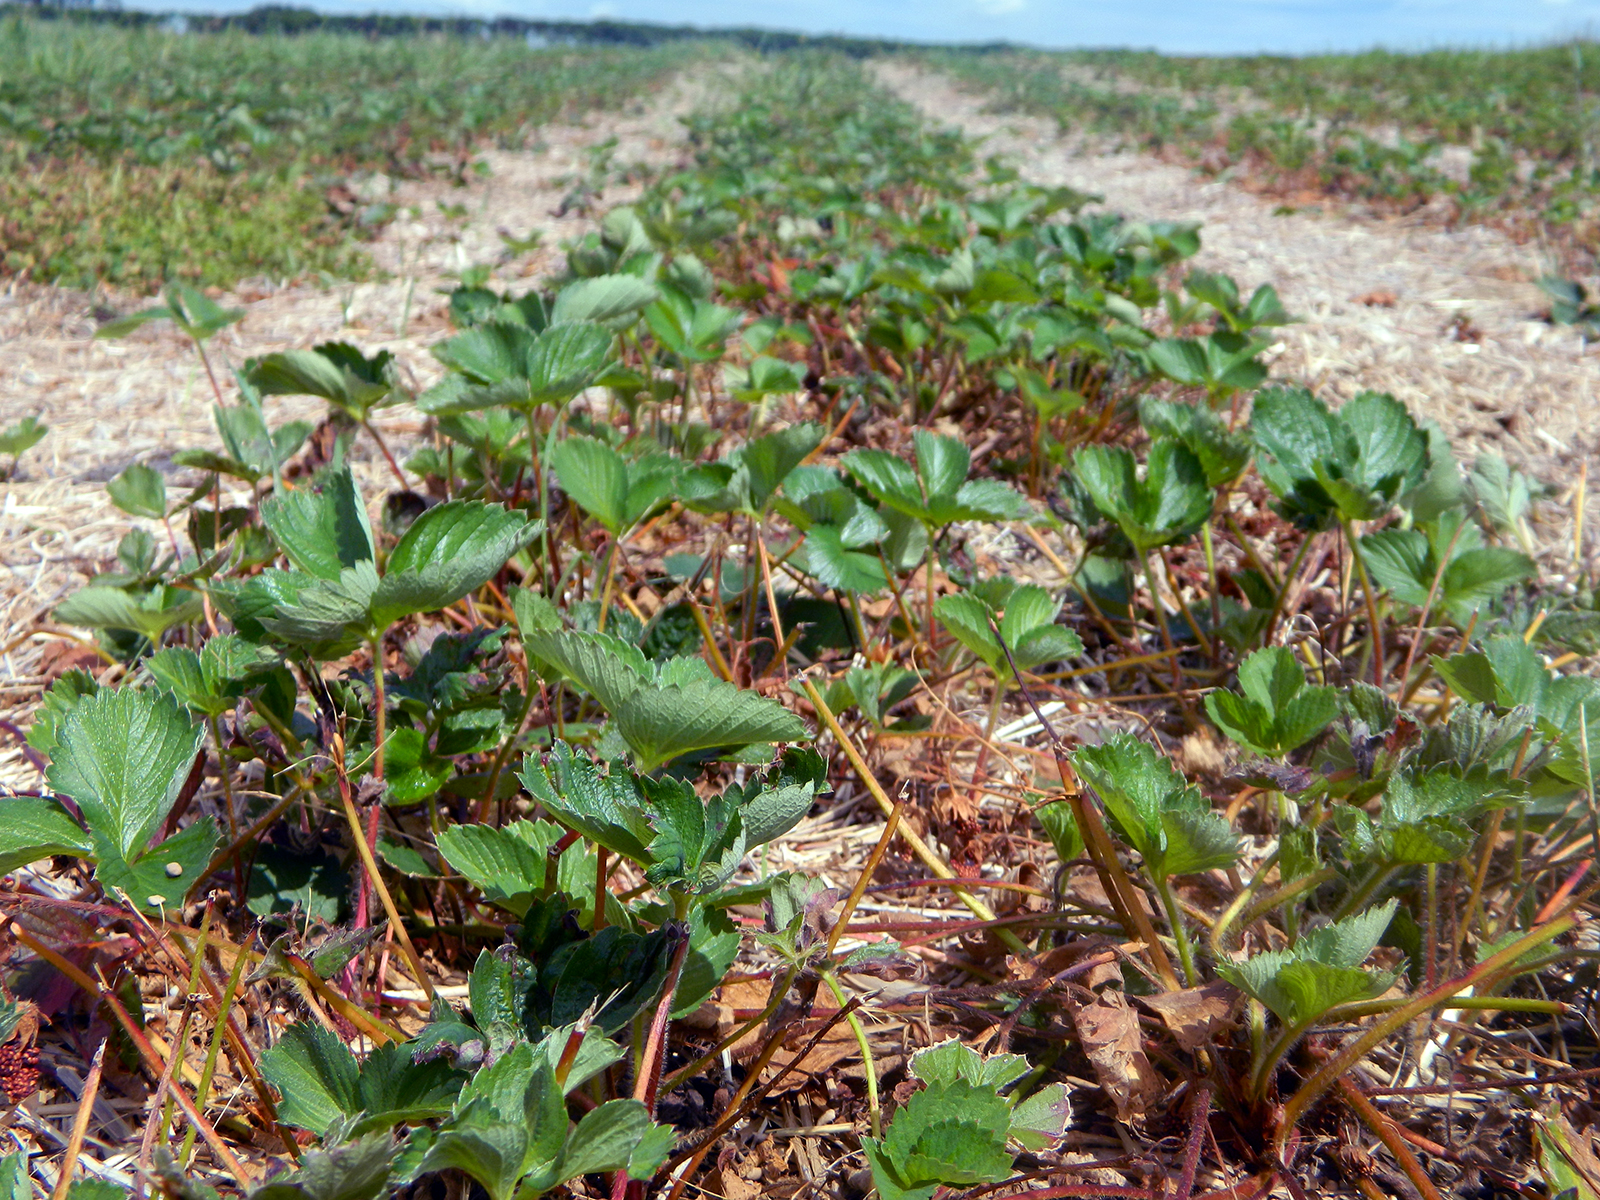
Step 4: Cultivate the soil between the rows
While some gardeners have large patches of strawberries with no rows, having rows of straw between the strawberry rows helps prevent the plants from crowding each other out and becoming unproductive.
Rows also make harvest easier. Cultivate or hoe the straw and soil between the rows so the rows do not grow into each other. Remove any additional runners that are growing between the rows if they are not removed by tilling or hoeing.
More fruit is produced along the sides of the rows compared to the centers, so narrower rows are more productive. Narrow each row to about 12 inches.
Step 6: Watering
The plants need water at renovation to re-grow their leaves and access the fertilizer that was applied. Watering is especially important after renovation if conditions have been dry and the forecast does not call for at least an inch of rain in the coming week.
Step 7: Keep the patch happy!
After renovation, keep watering and pulling weeds for the next few weeks so the plants can grow abundantly without competing for nutrients, water or space.