Measuring the physical properties of soil
Measuring the physical properties of your soil can give you a sense of how healthy your soil is. These measurements are informative, even if you only do them once. But they are also very useful to do each year to measure how your soil is changing over time.
Over the years, hopefully, you will see that your soil structure is improving with the use of soil health practices like cover crops and reduced tillage. Take photos so you can document your results and refer to them in the future.
These methods have been popularized by the Natural Resources Conservation Service.
Basic texture analysis
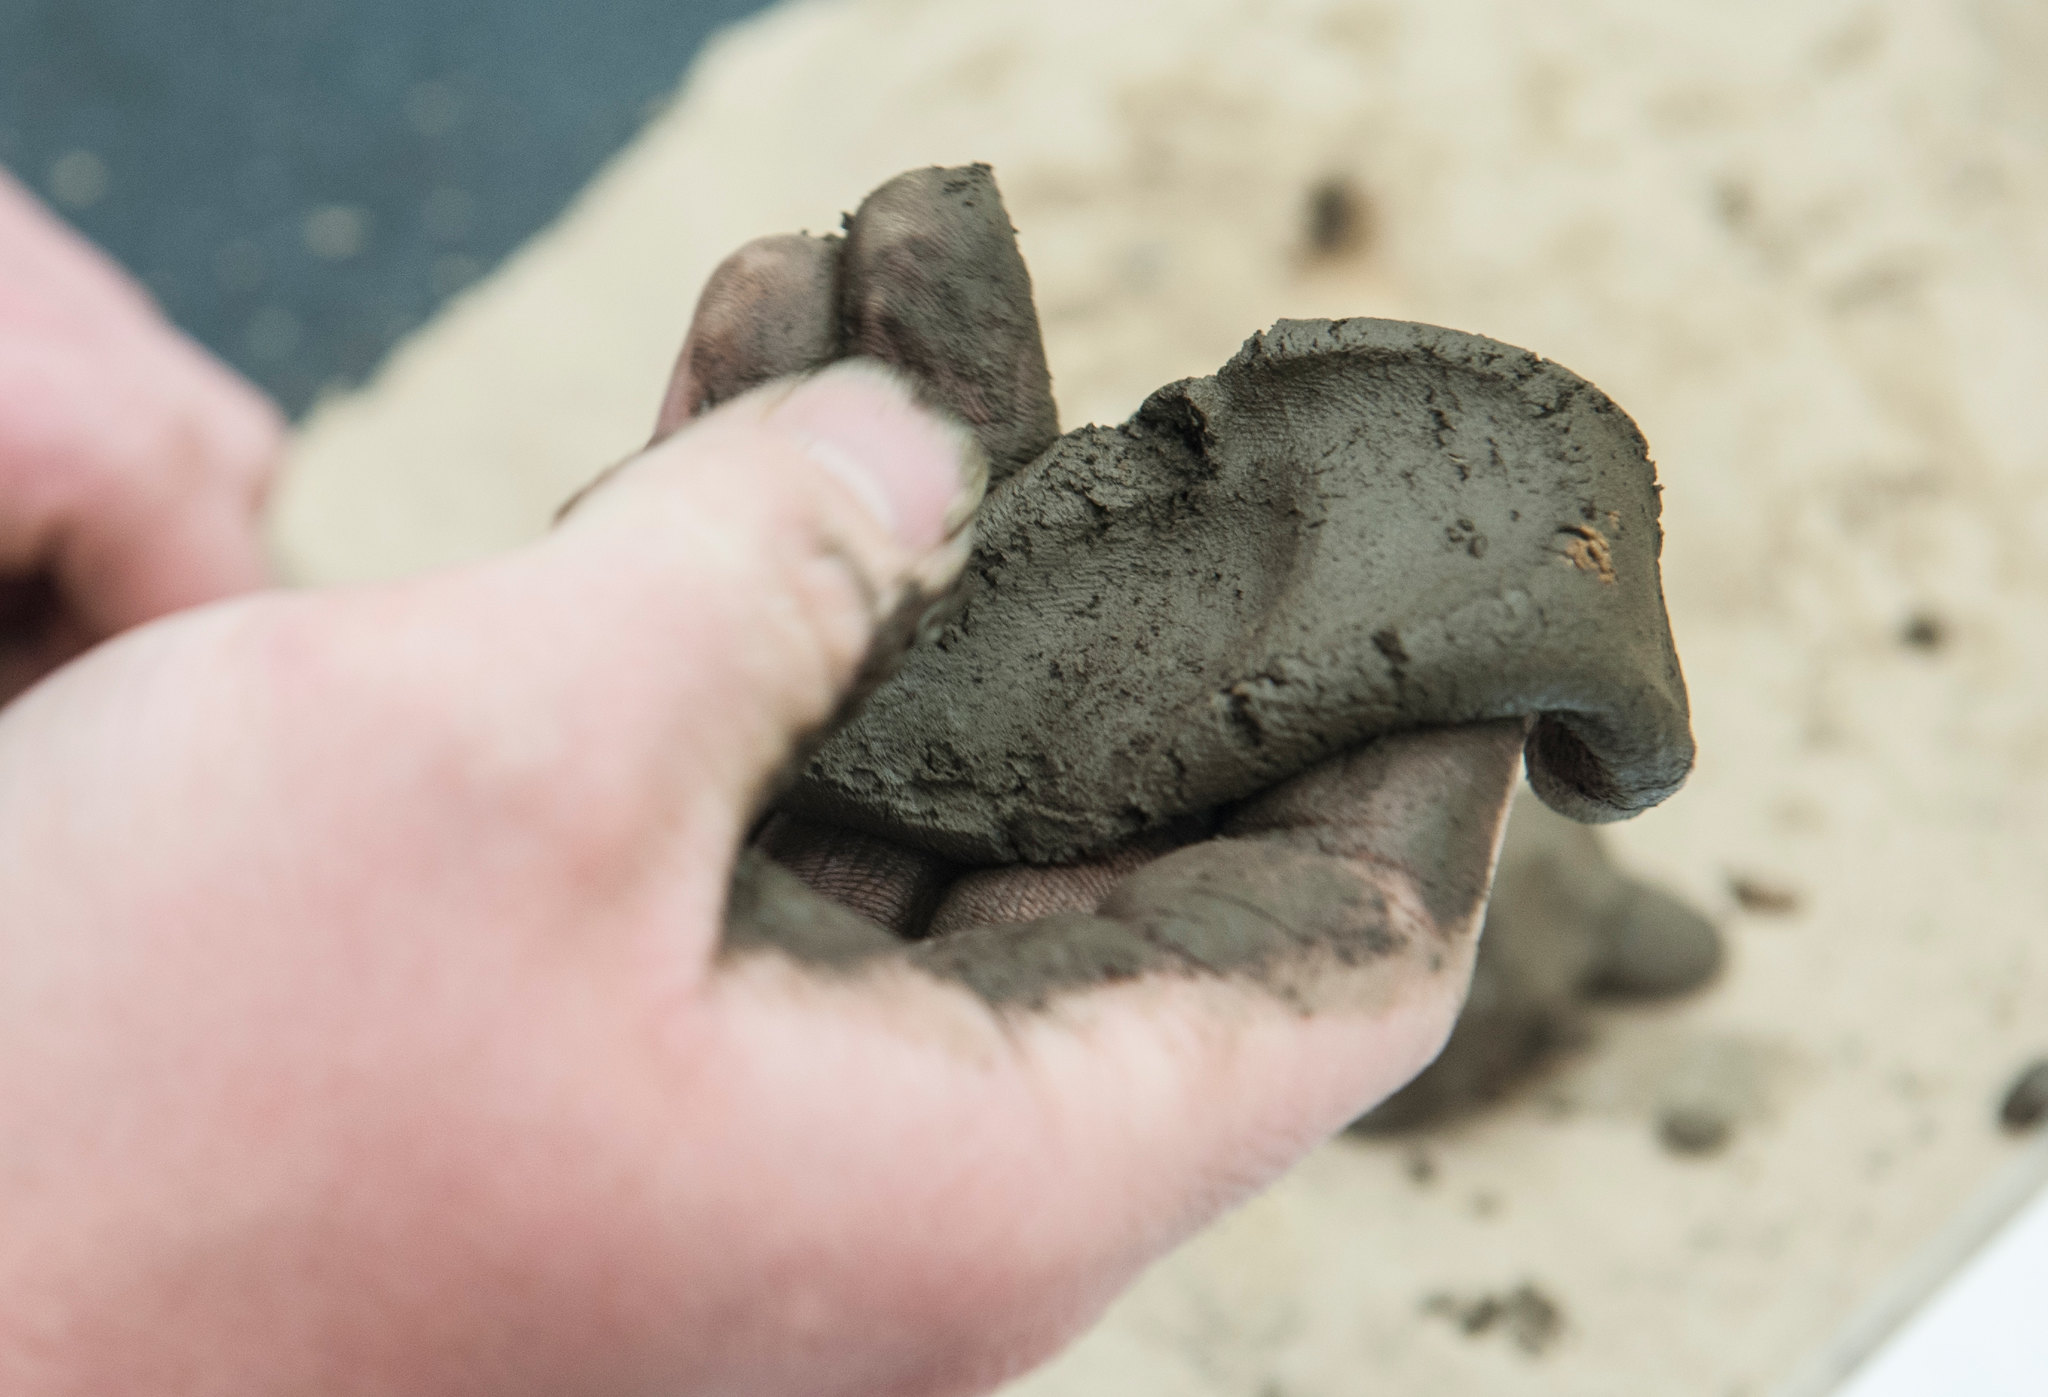
- Pick up a small handful of soil from your garden.
- Add water and knead it into the soil until it takes on a putty-like texture.
- Try to form a “ribbon” by pinching your soil.
The length of the ribbon can inform you about the texture of your soil.
The texture of your soil determines how it functions. Soil with more clay holds on to nutrients and water better than sandy soil. But it is also more prone to compaction and crusting, and it takes longer to warm up in the spring and to drain following heavy rainfall events.
Knowing your soil texture can inform your decisions about how much to fertilize, when you can plant and how often to water.
Your soil texture will not significantly change over time, so this is more of a baseline test than a test to do each year to measure progress.
Slake test

A slake test can give you a sense of the stability of your soil during heavy rainfall events. It measures the stability of the aggregates in your soil.
An aggregate is essentially a “clump” of soil. These clumps include a mix of parent material (sand, silt, and clay), organic matter, pieces of plant roots, hyphae from fungi and organic binding agents created by earthworms and microbes.
Soil with stable aggregates is better able to withstand heavy rainfall events. Soil without stable aggregates tends to crumble in water and wash away.
- To do this test, take an aggregate, or clump of soil.
- Put a strainer or a piece of hardware cloth in a jar of water, almost like you are making tea.
- Set the clump of soil inside.
- If your soil has low stability, it will quickly dissolve.
- If your soil has excellent stability, the clump will remain mostly intact.
Infiltration test
An infiltration test measures how long it takes for your soil to absorb water. You can do this at home with a soup can.
- First, fill the can with one inch of water, then pour the water into a measuring cup to figure out how much water it takes to reach a 1-inch depth.
- Use a can opener to remove the bottom lid so it becomes a hollow cylinder.
- Then use a mallet to pound the can about 3 inches into the ground.
- Pour the volume of water you measured earlier into the can that’s been partially pounded into the soil, and see how long it takes for the soil to absorb the water.
Ideally, you would do this when the soil is fairly dry. If it absorbs very quickly, this is a good sign; your soil will be able to absorb water more quickly during heavy rainfall events. If it takes a long time, it’s a sign that you should work to reduce compaction in your garden, and potentially build organic matter.
Using cover crops is a great way to build your soil’s infiltration capacity over time.
Our colleagues at Sustainable Farming Association made a video showing you how to do the slake test and the infiltration test.
Measuring the chemical properties of soil
Spring is a great time to do a soil test in your garden. A standard soil test from the U of M costs $17. It tells you your soil texture, the amount of organic matter in your soil, and the pH, and gives a basic nutrient analysis.
While you can buy an at-home pH kit at your local hardware store, it’s typically not much more expensive to send a sample to a laboratory, and the results you receive will be more informative since they provide additional nutrient management information.
Watch our video to learn how to take a soil test:
Measuring soil biology
A basic visual analysis can tell you a lot about your soil’s biological health. One method is to dig up a known concentration of soil (one bucket-full, for example), spread it across a tarp, and spend some time digging through your soil and looking for insects and earthworms. Ideally, dig down 12 inches.
In general, more earthworms indicate soil with improved drainage, porosity, and organic matter. You can try to identify the insects in your soil using the What insect is this tool or iNaturalist. Do this each year and compare how your soil’s earthworms and insects are changing over time.
There are a number of biological tests that have become popular over the years like burying underwear, tea bags, and popsicle sticks, as well as laboratory tests. While these tests can be fun to do, they are not necessarily reliable indicators of soil health.
If you’re curious to learn more about these tests, check out a podcast we recorded in 2020 about tests for measuring soil biological health.