A quick guide to herbs
- Many culinary herbs grown in Minnesota are members of two plant families, mint and carrot.
- Start seeds indoors under fluorescent lights during the late winter months.
- When planting outdoors, avoid heavy clay soils and wet areas that have a high nutrient content.
- Most herbs require at least six hours of direct sunlight in order to grow well. All-day sun is even better.
- Never allow the plants to wilt between watering.
- Harvest culinary herbs throughout the growing season by snipping sprigs and leaves as needed.
- There are different ways to dry herbs, including air drying and microwaving.
Herbs for seasoning and other uses
While chiefly grown for seasoning foods, herbs have many other uses. Their oils and fragrances are in cosmetics, perfumes, dyes and potpourris. Their medicinal properties are a focus of research worldwide. Some people use herbal materials in dried flower arrangements and related crafts.
Many culinary herbs grown in Minnesota are members of two plant families, mint and carrot.
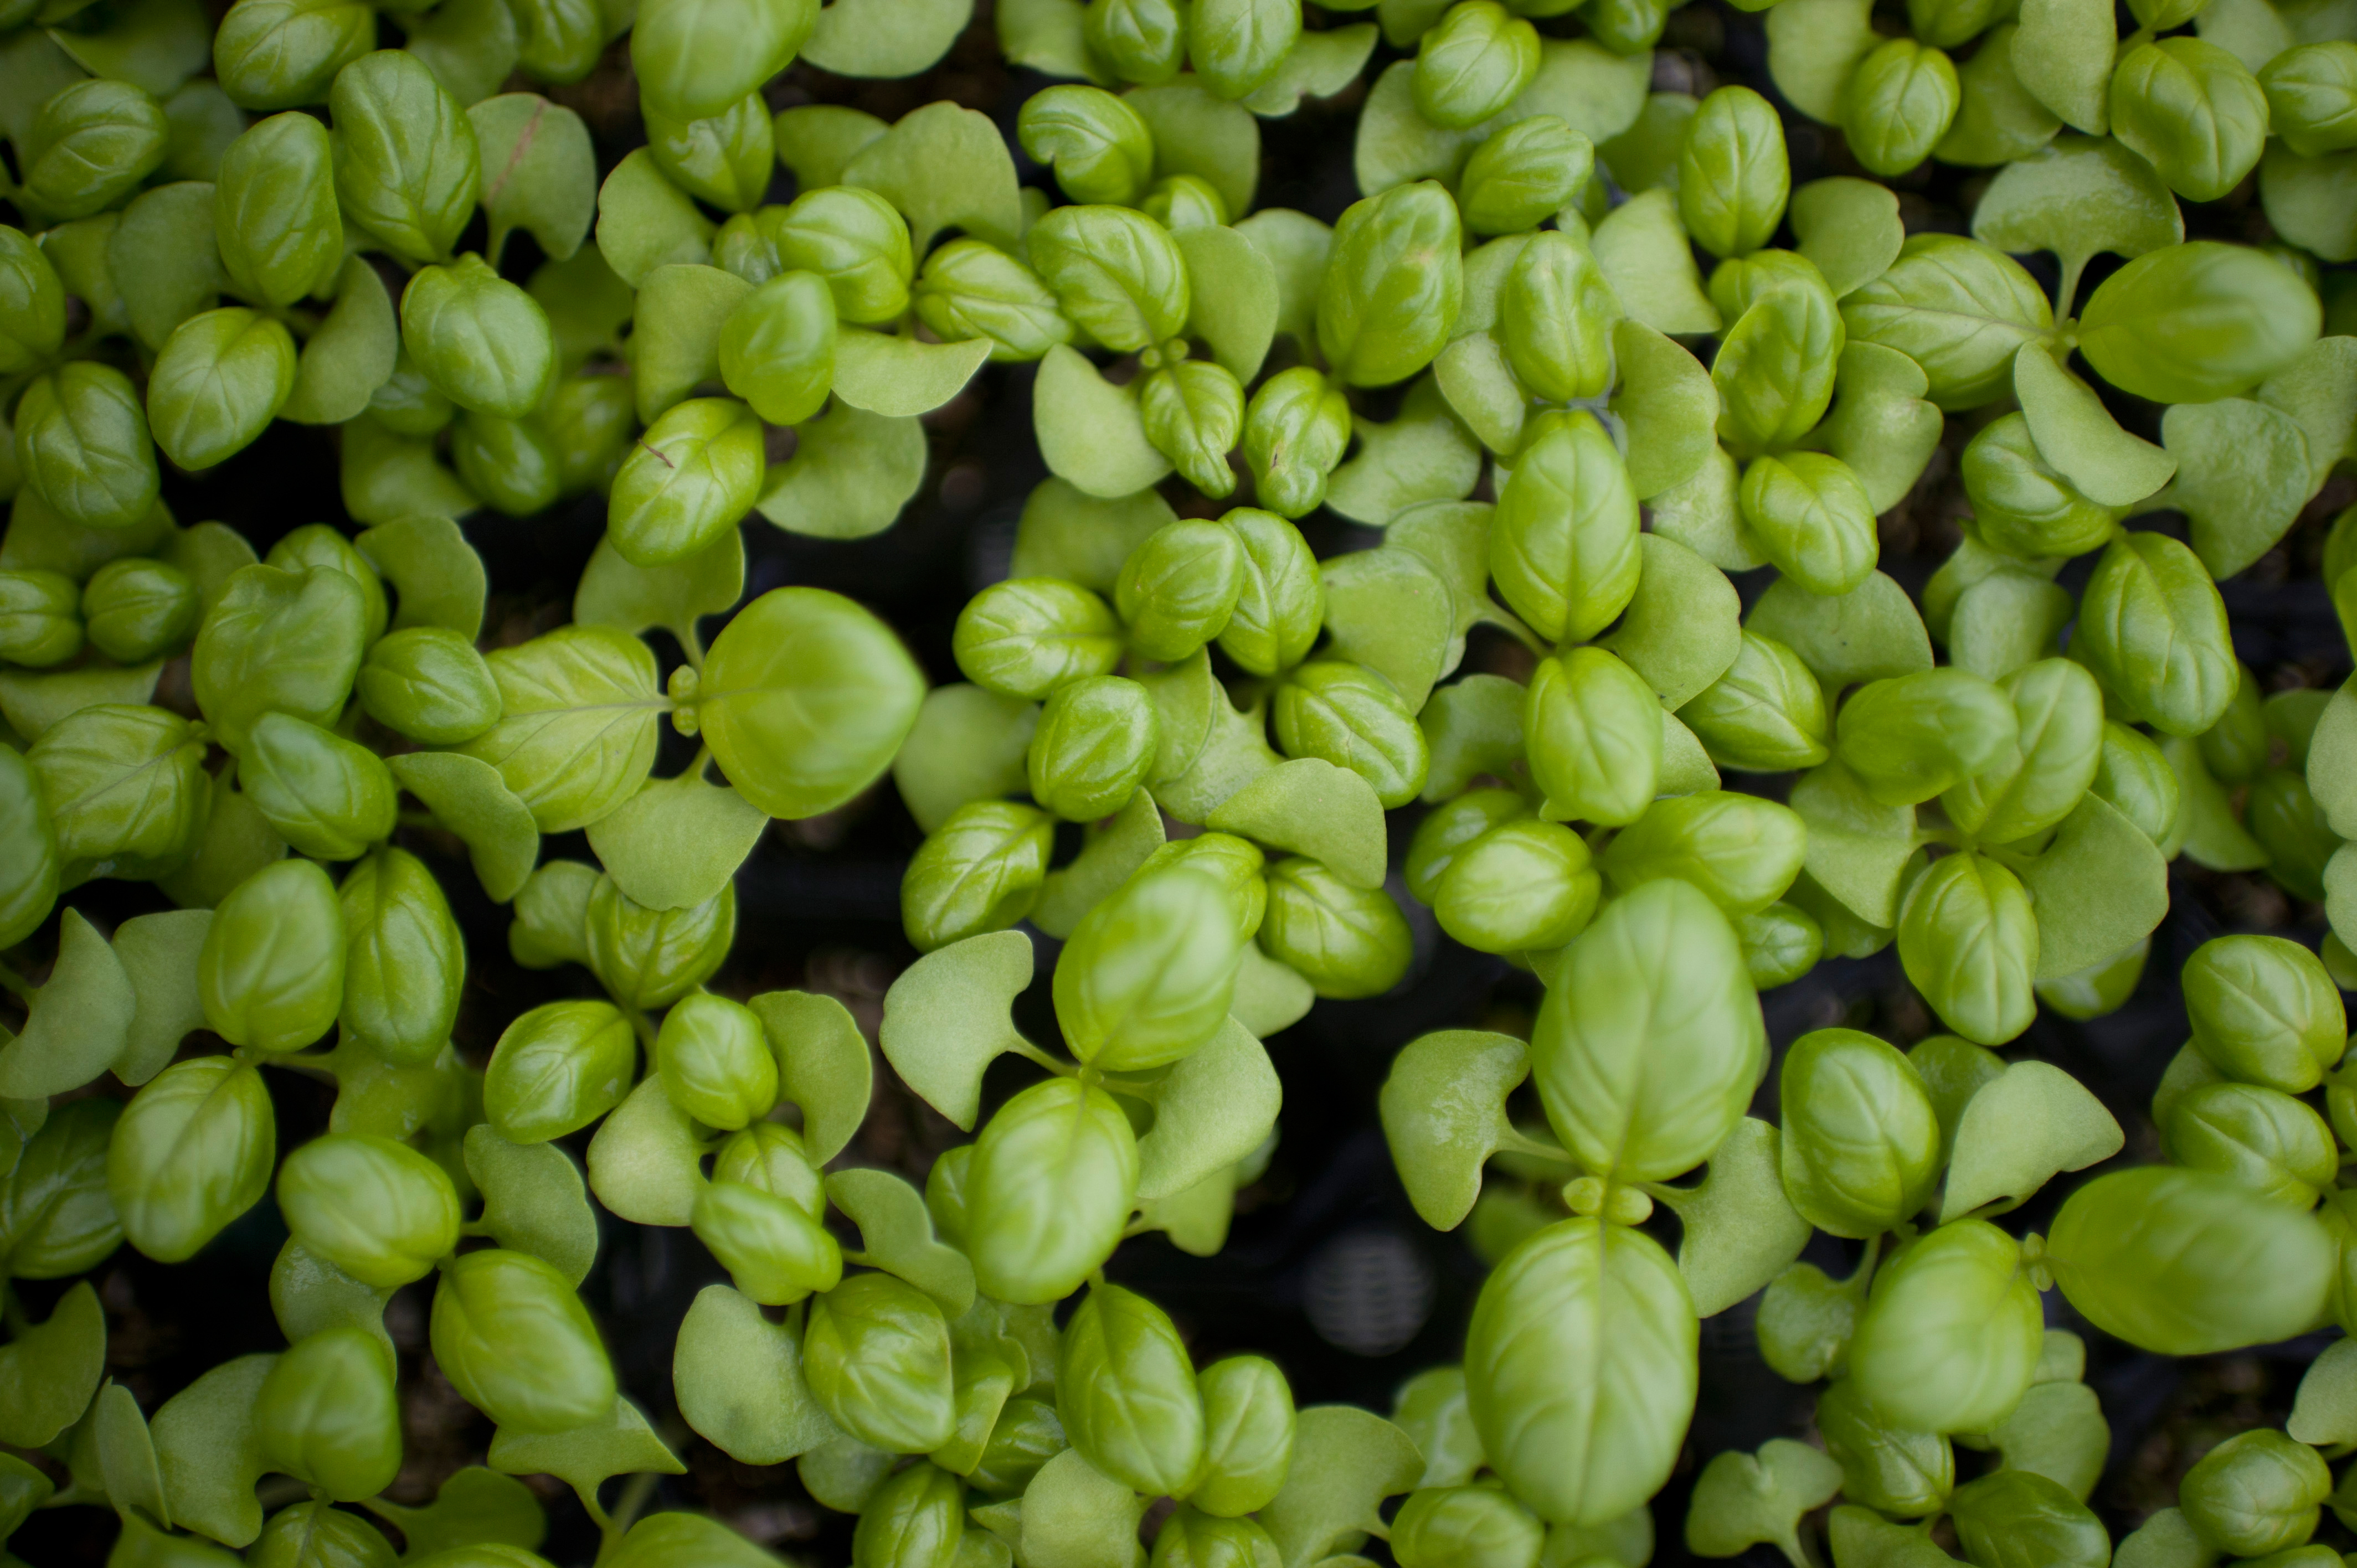
The mint family, Lamiaceae, includes basil, oregano, marjoram, catnip, all the mints, as well as rosemary, thyme, lavender, summer savory and sage. All have aromatic leaves. Hardy perennials in this family can become invasive, especially mints. These plants are bushy. Most have some tolerance of excessive heat and dry soil.
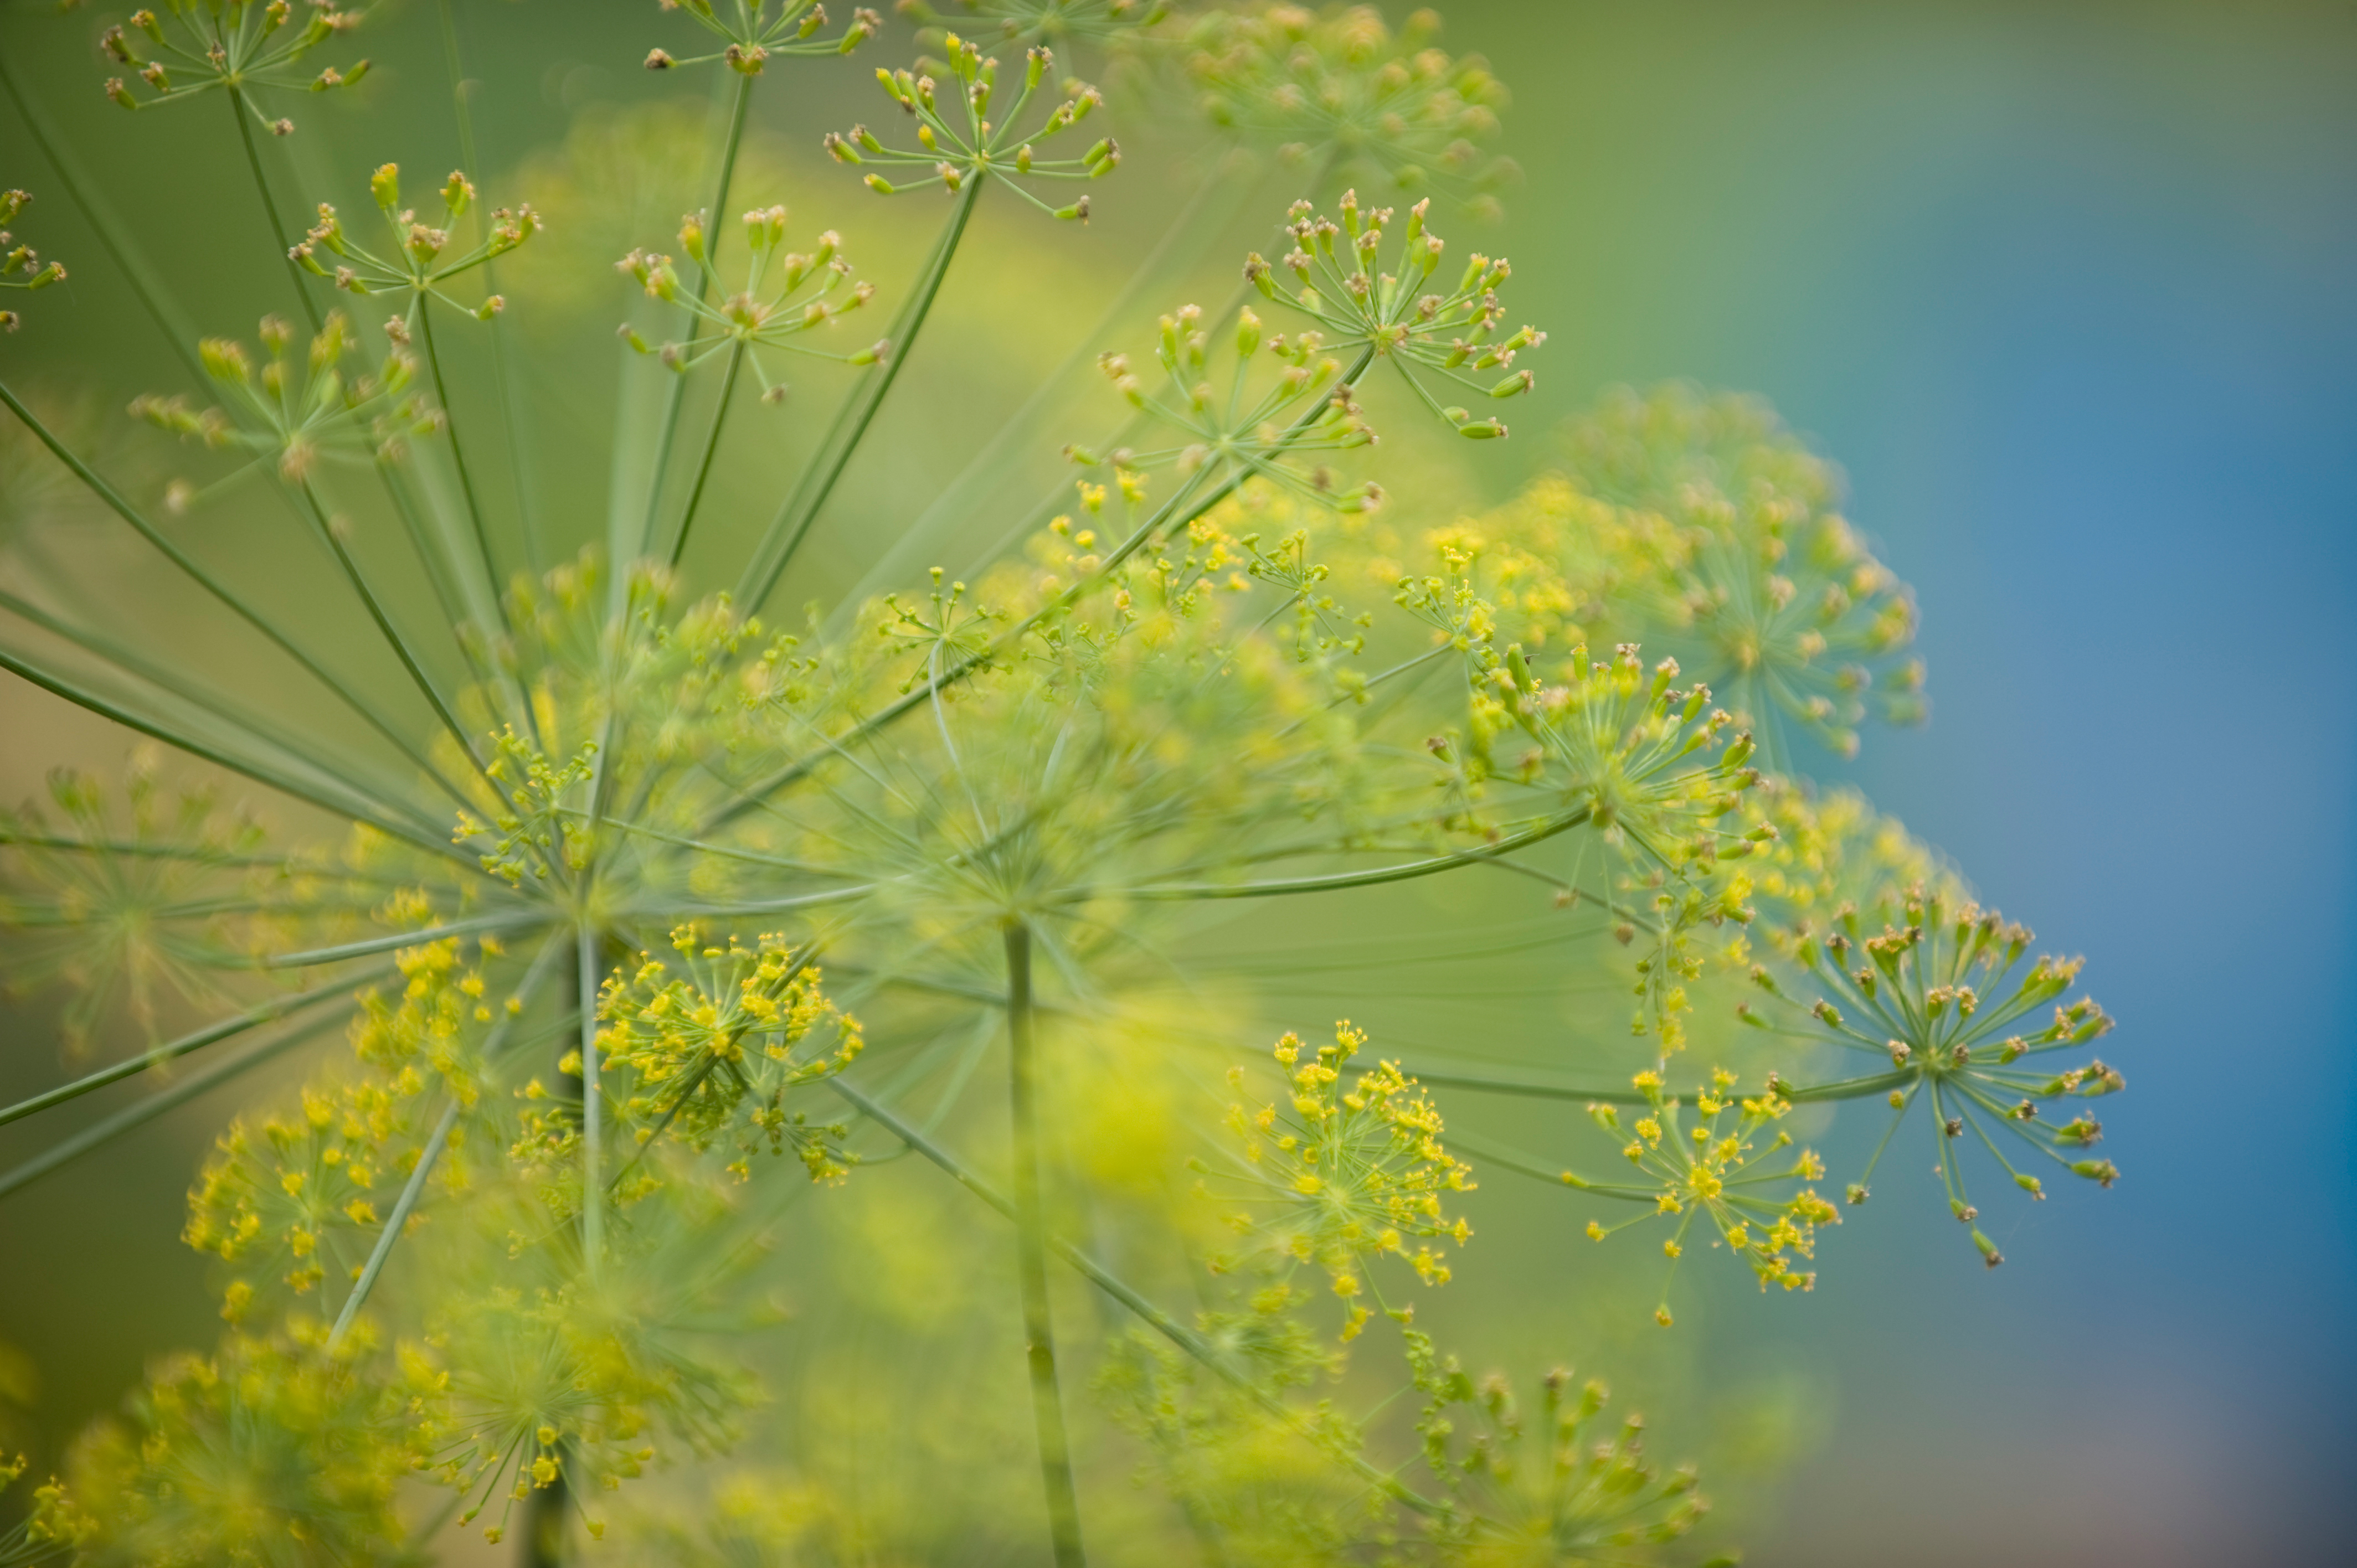
The carrot family, Apiaceae, includes dill, parsley, chervil, cilantro (also known as coriander), fennel and lovage. Gardeners value all of them for their foliage and seeds. These plants have an upright, leggy habit. They require somewhat more moist conditions, and deeper, looser soil.
Common culinary herbs from other plant families include chives (Alliaceae), borage (Boraginaceae), tarragon (Asteraceae) and sorrel (Polygonaceae).
Soil pH and fertility
- The majority of herbs need well-drained soil with a pH range of 6.0-7.5.
- When planting outdoors, avoid heavy clay soils and wet areas.
- Avoid soils that have a high nutrient content.
- These rich soils may hurt the herb's quality by promoting rapid, lush growth that will contain only small amounts of the essential oils that give herbs their characteristic aromas and flavors.
- Containers used for growing herbs, whether indoors or outside, should always have holes in the bottom for proper drainage.
- Fertilize sparingly.
- In most cases, garden beds can benefit from using a 5-10-5 commercial fertilizer at the rate of three ounces per every 10 feet of row. Apply once during the growing season, unless the site is particularly poor or the plants show signs of deficiency.
- Use a liquid fertilizer at half the label-recommended strength once every six weeks for herbs in containers indoors and every three to four weeks for containers outdoors.
Planting
- Start seeds indoors under fluorescent lights during the late winter months.

Cilantro seedlings - Set lights for 14-16 hours daily. Place lights approximately four to six inches above the seedlings. Raise the lights as the seedlings grow to maintain the four to six inch distance.
- Transplant herbs outdoors once frost danger has passed, and the soil has warmed and is firm enough to work.
- Space seedlings with the mature plant size in mind. Crowded conditions will result in tall, weak plants. Poor air circulation will lead to disease.
If a friend has a successful herb planting, you may propagate some perennial herbs by division. For example, you can divide and transplant a clump of chives or a mound of creeping thyme with a shovel in early spring.
How to keep your herbs healthy and productive
- Most herbs require at least six hours of direct sunlight in order to grow well. All-day sun is even better.
- The more intense the light, the more oils will develop within the glands of foliage and stem. Oils create stronger fragrances and seasonings.
- A southern or western exposure will meet the needs of most herbs, although some may do well in a bright east-facing location.
- Indoors, it is crucial to give herbs the best light available.
- Fluorescent lights are necessary to maintain healthy plants during winter when days are shorter and darker.
- Twelve hours of artificial light daily is enough for most indoor-grown herbs. Not enough light will result in spindly, thin growth.
- Water thoroughly once a week by soaking the soil to a depth of eight inches, to ensure that the root zone is receiving enough moisture.
- Water indoor herbs when the soil feels dry a half inch below the surface, depending on pot size.
- Outdoor container-grown herbs need water more often. Water daily if days are hot and sunny.
- Never allow the plants to wilt between watering.
- Avoid constant soggy soil conditions. Constantly wet soil encourages root rots, especially during winter. Root rots are the most common problem of herbs grown indoors.
- Mulching materials such as straw, marsh hay, compost and leaves provide good winter protection for hardy perennial herbs.
- Depending on the size of the plant, a mulch two to five inches thick will keep temperatures constant around the plant during late fall and early spring. This reduces winter damage to your plants.
- Mulching during hot, dry periods of the summer can help maintain soil moisture.
Grow perennial herbs that are not winter-hardy in Minnesota with a mixed indoor-outdoor regime. You can grow a rosemary shrub, flowering lavender, bay tree or a fragrant sage that otherwise might die during a harsh winter. Although Minnesota winters can be too cold for these plants, they thrive in hot, sunny Minnesota summers.
Plant the herbs in unglazed clay pots filled with potting mix. In spring, sink the entire pot in your garden. The porous clay will allow water and nutrients to pass from the soil into the pot.
As the days start to cool off in September, dig the pots up and clean them off. Inspect your herbs for insect infestation and treat them before bringing the plants inside. They can spread pests to any other indoor plants you may have.
Your herbs may drop a few leaves after you bring them indoors. They will not thrive during the darker days of winter. Do not fertilize them. Water them only as necessary when the soil feels dry. Do not use too much of the foliage in cooking, as the plants will be unable to recover from the harvest until they go back outside.
In April, start taking your potted herbs outside on warm days, and bringing them back in at night. Keep them out of direct sunlight at first. Sink them into the garden soil again in May.
A large unglazed clay pot, or a large plastic bucket with the bottom removed, sunk into your garden is also a way to contain invasive mints, including catnip. You may leave the pot in place over winter, since mints are quite winter hardy.
- Harvest culinary herbs throughout the growing season by snipping sprigs and leaves as needed.
- Many herbs will have the best flavor if harvested just before flowering.
- Mid-morning hours are the best time to pick herbs, as this is when oil content is highest. This time is usually just after the dew has dried and before the heat of the day begins.
- For fresh use, gather only what you will use each day.
- For drying or freezing, gather only as much as you can dry or freeze at one time.
- For mint family herbs, make the cut a few inches down the stem and just above a set of leaves.
- New growth will arise from buds at this point, and a bushier plant will result.
- Annual herbs such as basil and marjoram can become woody, less productive and somewhat bitter if allowed to seed. Seed production will also shorten any annual herb's life.
- For carrot-family herbs, cut each leaf stalk at the base of the plant.
- For these plants as well, flowering signals the end of the plant's life. The flavor of the foliage may not be as pleasant once the plant flowers.
Once picked, keep herbs out of bright light. Washing the herbs may be necessary if there is dirt or debris on the foliage. If this is the case, wash the herbs gently with warm water and pat them dry. You can also use a salad spinner to remove water from the leaves. Excess water will slow the drying process.
Preserving herbs
- With the right conditions, air drying is the best method. Slower, cooler drying preserves the flavors of herbs better than faster drying.
- Gather four or five stems, and tie the ends together with clean string or heavy thread. Larger bunches of herbs will not dry properly because air cannot circulate between the stems as easily.
- Hang the herbs upside down in a dark, warm, dry, well-ventilated room.
- Label them, as they will look different once they dry. Mix-ups can easily occur. The foliage should dry in 7-14 days depending on conditions.
- To collect seeds, place a paper bag around the hanging herb with holes in the side for air circulation. As they dry, the seeds will collect on the bottom of the bag.
- You can also air dry herbs using screen racks. Spread the herbs only one layer deep. A cookie sheet or solid surface will not work as well, as only one surface will dry properly.
- Microwave ovens provide the fastest means of drying herbs.
- Because of different wattages and models, you must determine specific settings by experimenting with your own microwave.
- Start with 15-second intervals and keep checking the herbs until thoroughly dried. It is likely that you will cook, rather than dry, a number of batches before you find settings that will work.
- This is the least desirable method of drying. The dried herbs lose more of the essential oil in this process.
- Once you dry the herbs, strip the leaves from the stems. Do not keep stems as they retain moisture long after the leaves have dried and may become moldy in storage.
- Store leaves whole if possible. A larger leaf piece will hold flavor better.
- Store the herbs in airtight containers. Herbs stored using these methods can usually last up to a year.
- Keep stored herbs away from bright light and heat sources.
- Check them periodically for any moisture buildup within the container. If there are signs of moisture, empty out the container and re-dry the herbs.
- A few leaves or sprigs placed in a labeled plastic bag works well.
- You can also chop up the material and pack it into an ice cube tray. Top off with a little water and freeze.
- Avoid freezing large quantities, as you cannot refreeze them once thawed. Use properly frozen herbs within a year.
Reviewed in 2021