Quick facts
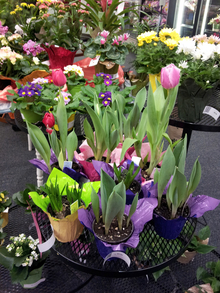
- A bulb garden of cold-hardy spring bulbs like tulips, daffodils, crocus, hyacinth and others can be planted in pots to bloom indoors in late winter.
- Bulbs can be forced into bloom through cold treatment and then placing them in a cool, sunny window in your house.
- Bulbs should be firm and free of mildew and mold.
- Select pots that are six to eight inches deep, have good drainage and will fit into your refrigerator.
- Plant the bulbs close together in the pot using new commercial potting soil. Do not use garden soil.
Grow a bulb garden for winter indoor beauty
In the fall, garden centers and catalogs are full of hardy bulbs to plant in our gardens in October, spend the winter underground, and then bloom in spring.
If you are a fan of tulips, daffodils, crocus and hyacinths, you can pot up some of these favorite spring bulbs and create your own bulb garden for winter indoor flowering.
Choosing bulbs
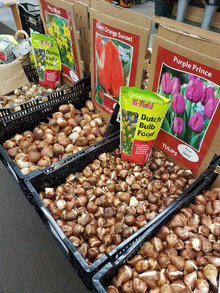
- When choosing bulbs for your bulb garden, consider that different bulbs will bloom at different times. Garden centers or catalogs will tell you the varieties that are best suited for forcing.
- Bigger is better. Choose good quality, good-sized bulbs
- Bulbs should be firm and clear of any mold or mildew.
- Some bulbs have a paper-like covering. This is normal and you should leave it on the bulb when planted.
Planting
- Use a clean clay, resin or plastic pot at least 6 inches deep with one or more drainage holes in the bottom and a saucer to catch water.
- Wash used pots or saucers with hot, soapy water and rinse well.
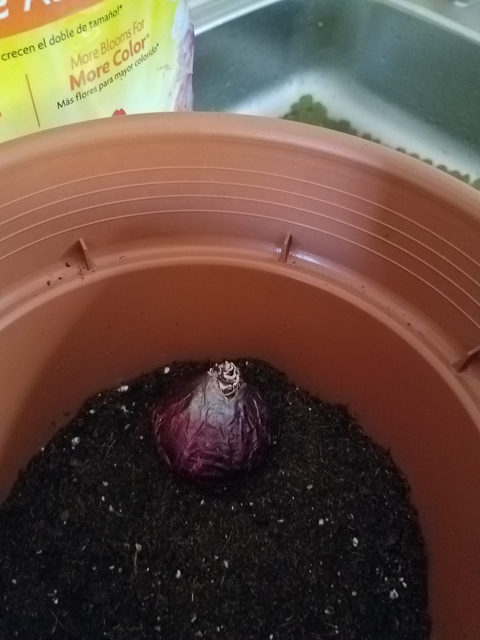
- Fill the clean pot about 1/3 with new potting soil.
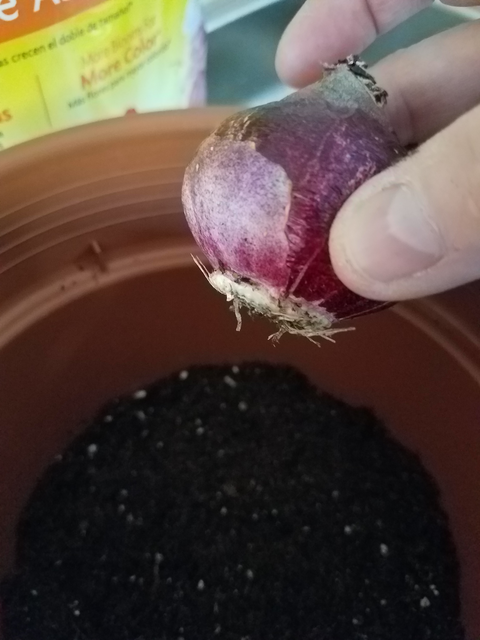
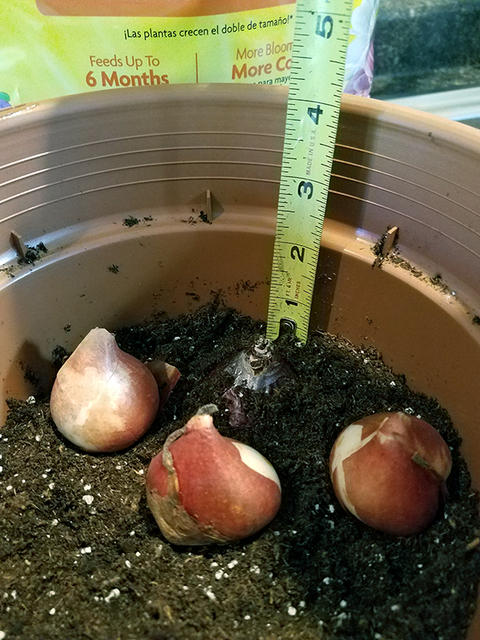
- Stand bulbs in the soil with the hairy root end in the soil and the tips or noses pointing upward. Do not press the bulbs into the soil.
- Plant bulbs close together in the pot. Handle them carefully to avoid damaging them.
- About six tulip bulbs, three hyacinths, six daffodils or 15 crocus will fit into a 6-inch pot.
- Place the flat side of the tulip bulb next to the rim of the pot. The largest leaf will always emerge and grow on that side, producing a more desirable looking pot.
- Carefully add a quality potting soil around the bulbs, making sure they continue to stand upright.
- Tap the pot gently on the table to settle the soil.
- Leave 1/4 inch of space at the top of the pot so you can water it without spilling over the pot.
- Water the bulbs immediately upon planting and when the soil surface feels dry. Do not allow the soil to become dry, as the bulbs will also dry up.
- There is no need to fertilize the bulbs. Bulbs contain enough stored food to flower one time.
- Keep your bulb garden in a sunny, cool window under 65 degrees F just like a sunny spring day.
Bulbs have two ends: a rough, hairy end that will produce roots, and a pointed end that will produce the flower stalk.
Set the bulb in the soil with the roots down.
Fill the pot with soil and add bulbs at the right depth depending on the bulb type. Tulips should be planted 4 inches deep. Hyacinth should be planted about 5-6 inches.
Cold treatment, or vernalization
Once planted, it is time to give the bulbs a cold temperature treatment of 35° to 48℉ for a minimum of 12 to 13 weeks. This cold treatment is similar to the bulbs being planted in your garden in the fall and going through our Minnesota winter.
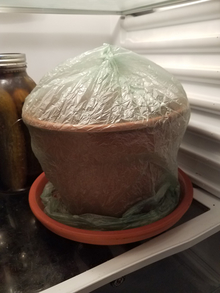
- You can use an unheated attic or cellar, a cold frame or even your refrigerator to simulate winter.
- In the refrigerator, cover the pots with plastic bags that have had a few breathing holes punched in them.
- With cold frames in Minnesota, use a deep mulch. Cover the pots with 10 inches of soil and then with 10 inches of mulch (hay, sawdust or leaves).
- Do not allow the bulbs to freeze as they will die and ultimately rot.
Forcing bulbs to bloom in pots after cold treatment
- When you remove your bulb garden from cold treatment, the change in temperature will force or signal the bulbs to produce flower stalks just as they do when our spring days start to warm up after a cold winter.
- Mark your calendar to remind yourself when to remove the first pots from storage for forcing to begin. Remember: they need 12-13 weeks of cold treatment.
- If planted October 1, bring the first pots into the home right after Christmas.
- For a continuous supply of flowers, you can plant several post at different intervals and bring in a few pots every couple of weeks.
- Once brought out of cold treatment and placed in a cool, sunny window (50° to 60℉ is ideal) the bulbs should flower in three to four weeks. Closer to spring, they flower more rapidly from higher temperatures.
- After the shoots and leaves begin to expand, move your bulb garden to a warmer spot out of direct sunlight.
- Once the bulbs are blooming, move the pots to a cool location each night to prolong the bloom time. Small pots of crocus can be placed in your refrigerator overnight.
- Hyacinth flowers may stay inside their bulbs and fail to grow a long stem. Place the plants in the dark for a few days or place a paper cone over the plants to draw the flower out of the bulbs.
After blooming
Flowering takes a considerable amount of the bulb’s stored energy. Therefore, bulbs that have been forced to bloom are unlikely to bloom well again. Compost the forced bulbs after blooming.
Reviewed in 2024


