Hail netting has been used by fruit growers globally since the 2000s to protect fruit crops from hail damage. Hail storms are a common weather occurrence during the growing season in Minnesota, making hail netting a reasonable investment for protecting fruit as an alternative to hail insurance.
Two typical types of hail netting are overhead netting and draped netting. While both work as strategies to protect against hail damage, research has shown that draped netting effectively excludes insect pests from apple orchards because it fully covers apple trees.
Despite the upfront costs needed to purchase and install draped hail netting, the overall benefits of reduced pesticide inputs and improved crop quality can produce economic gains for growers. This page primarily focuses on draped hail netting.
Watch the short video below to learn more about climate change's impacts on fruit crops (video: 09:12).
Overhead hail netting
Unlike draped netting, overhead netting systems are propped up by trellis posts and wires. Overhead netting covers the entire orchard in one continuous layer above the tops of the canopy, which is constructed from many long, row-width strips clipped together.
These netting strips are then separated and tied into bundles above each row after the growing season has finished to prevent damage from heavy snowfall.
Because overhead netting does not fully cover trees or the sides of an orchard, it cannot be used to exclude insect pests but does have the additional benefit of protecting fruits from sunburn. However, sunburn is not a significant economic issue in Minnesota as it is in Washington, where this system is used occasionally.
If you are interested in overhead netting, contact netting manufacturers and visit farms where it is used, such as the Minnesota Landscape Arboretum’s “Farm at the Arb” demonstration orchard.
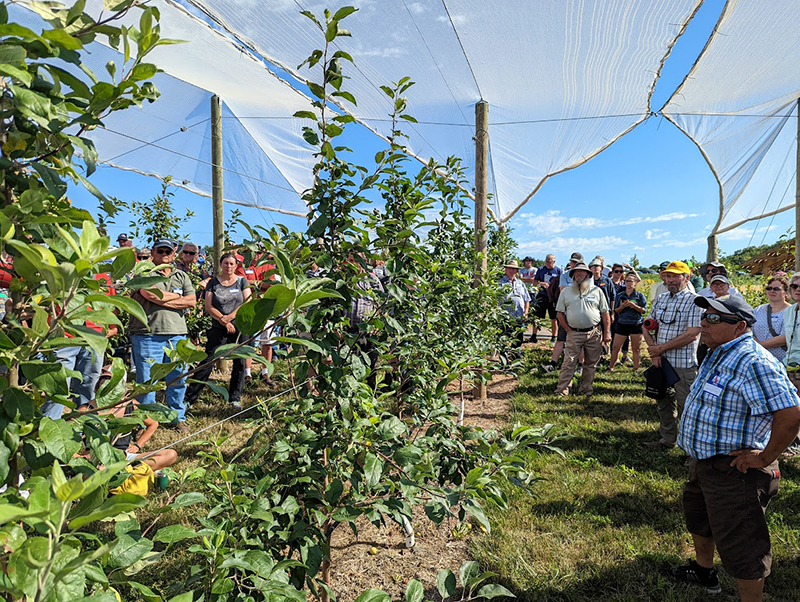
Draped hail netting
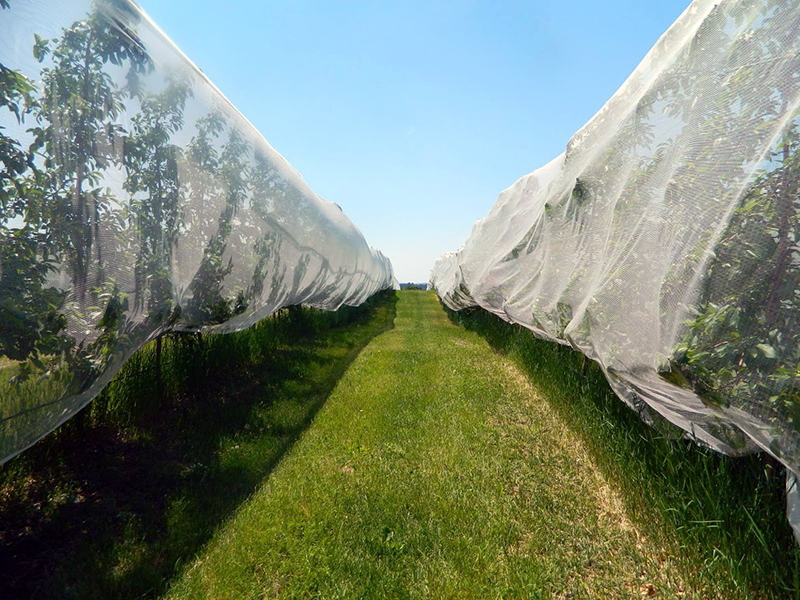
This guide focuses on draped netting. This type of netting is draped over individual rows of apple trees and secured under the bottom of the canopy with zip ties or clips.
The netting has small rectangular holes that are 3 by 1.5 millimeters. It comes in rolls on spools. The netting is lightweight, weighing 60 grams per square meter. It is applied in the early summer after petal fall and removed immediately before harvest.
This type of netting works best in high-density trellised orchards such as the vertical axis, tall spindle, or spender training systems. It may work on rows of larger semi-dwarf trees if you use wider nets.
This system is more economical of the two types of hail netting systems. It also has the significant added benefit of excluding insect pests.
Equipment, supplies and installation for draped netting
Draped netting is sold on spools. Each piece of netting is 100 meters long (328 feet). It comes in various widths, with 12 meters (39.4 feet) as the typical maximum width. For orchards using tall spindle trellises with 16-foot tall line posts, purchase netting 7 meters (23 feet) wide.
To determine how many spools of netting to buy:
- Calculate how many feet of linear row you have in your orchard.
- Add 10 feet to the beginning and end of each row, as the net will need to be tied off and secured to end posts at the beginning and end.
- Netting costs are lower for orchards with longer rows versus many short rows. We recommend contacting a netting supplier to help determine the correct quantity needed for your orchard.
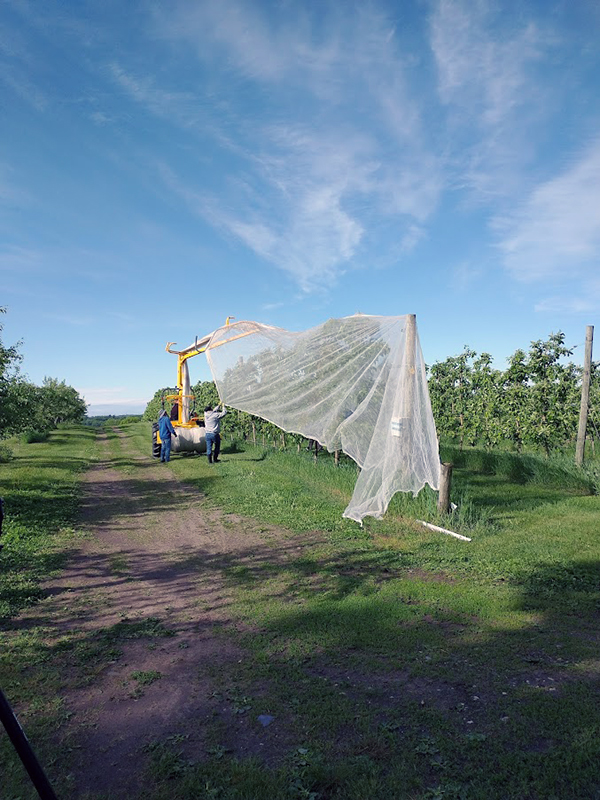
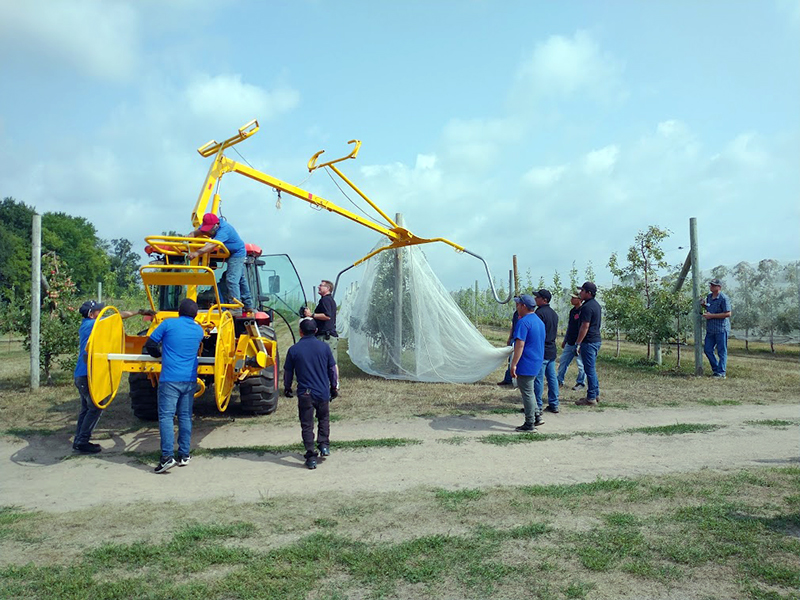
A pull-behind net applicator makes it easier to drape the netting over the top of the tall trellis system. If you have just a few trees, you may be able to apply the netting by hand, but most operations will find that an applicator is necessary. One applicator for draped netting is sold under the name “Net Wizz.” Additionally, if you have welding skills, you may be able to build your own applicator.
In addition to the netting and applicator, you will need zip ties or plastic clips to secure the long edges of the netting together underneath the tree canopies. This is necessary to keep the netting in place during high winds.
Apply draped netting as soon as possible after petal fall. Wait until bloom is complete because pollinators cannot access the blossoms through the nets.
At least three people are needed to use a tractor-operated netting applicator: a tractor driver, and one person on each side of the row to pull the sides of the nets down over the trees. After the netting is draped, walk down each row to zip-tie the edges of the nets together under the tree canopy. A fourth person, if available, could apply the zip ties immediately as the nets are going on.
Tie the end of the net in a knot at the start of the row, and secure the knot to the end or anchor post. Cut the netting upon reaching the other end of the row, leaving enough length to tie the end into a knot and secure it to the end post or anchor post. Label each piece of netting with the row number it is used on so that it can be re-used for the same rows in future years.
If a piece of netting is not long enough for the row, two pieces can be sewn or zip-tied together. Holes or tears in the nets can be repaired through sewing and patching as needed.
Remove the hail netting right before harvesting the trees.
Minimizing the time between net removal and harvest lessens the risk of hail damage to uncovered trees.
If using a netting implement to remove the netting, consult with the manufacturer about how to use it for netting removal.
With proper use and storage, hail nets can be re-used annually for at least 10 years. As individual pieces become damaged, they can either be repaired or replaced.
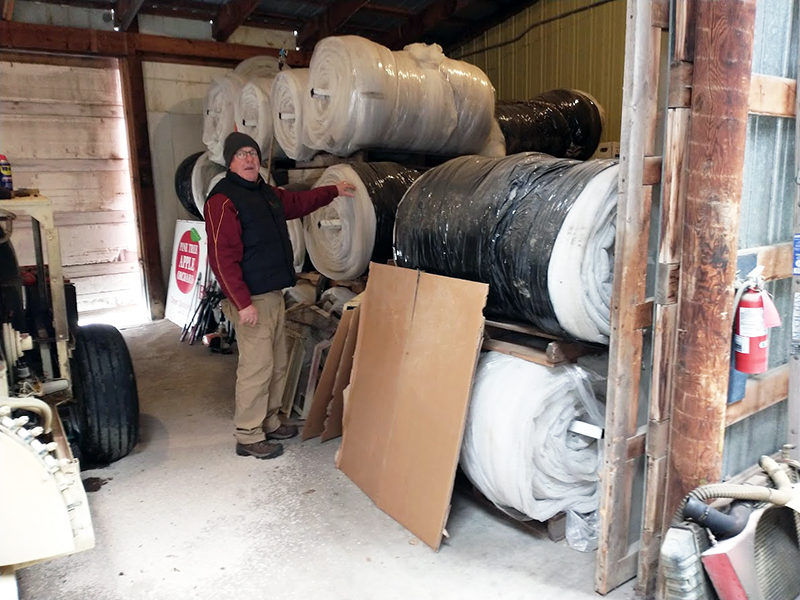
Store the nets indoors on their spools. They should be elevated off the ground or floor to prevent mouse damage and water accumulation. This can be achieved by storing the spools of nets on top of wooden pallets or shelves.
The spools are large, so make sure you have enough storage space before purchasing them.
University of Minnesota research studies:
Nelson, Sally, GA; DiGiacomo, Gigi; Klodd, Annie; Jacobson, John; Wimmer, Madeline; Hutchison, William, H. (2024). Hail Netting for Apples: Study Results (2021-2022). Retrieved from the University of Minnesota Digital Conservancy. https://hdl.handle.net/11299/261691
Sally G A Nelson, Annie E Klodd, William D Hutchison. Hail netting excludes key insect pests and protects from fruit damage in a commercial Minnesota apple orchard, Journal of Economic Entomology, Volume 116, Issue 6, December 2023, Pages 2104–2115. https://doi.org/10.1093/jee/toad197
DiGiacomo Gigi, Nelson Sally G. A., Jacobson John, Klodd Annie, Hutchison William D. Hail netting: an economically competitive IPM alternative to insecticides for Midwest apple production, Frontiers in Insect Science, Volume 3, 2023. https://www.frontiersin.org/articles/10.3389/finsc.2023.1266426
Sally G.A. Nelson, Eleanor L. Meys, William D. Hutchison. Non-target impacts of hail netting and insecticides on natural enemy abundance and diversity in a Midwestern U.S. commercial apple orchard, Crop Protection, Volume 180, 2024. https://doi.org/10.1016/j.cropro.2024.106643
Reviewed in 2026